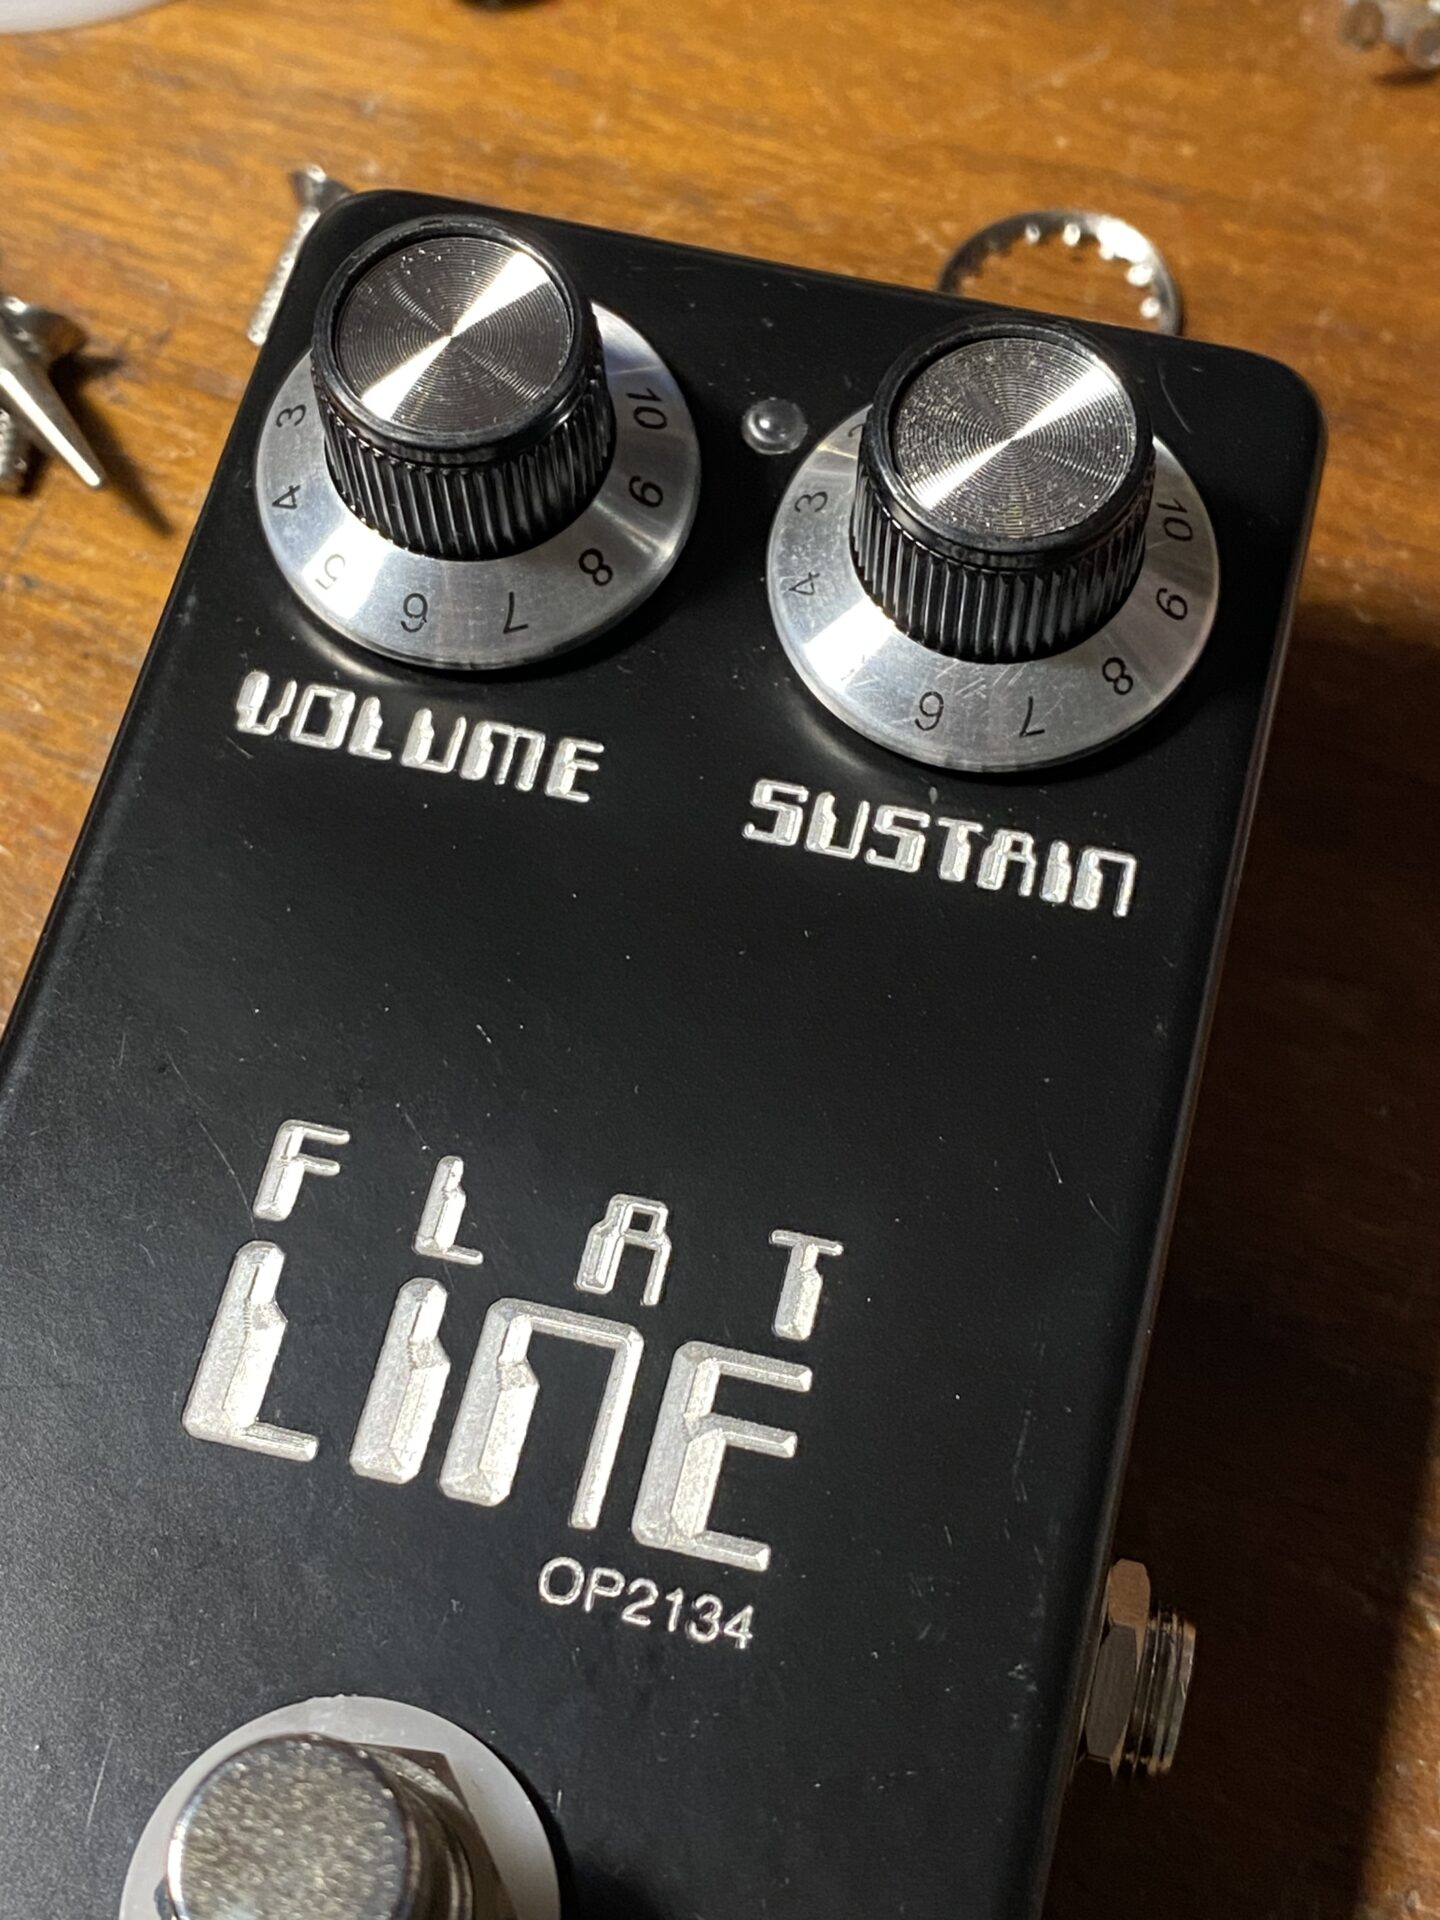
The Flatline is a a great simple compressor designed by John Hollis. Check out my original article on Flatline for some background.
This is an update to the original board that incorporates some mods by Atomium Amps. Besides me part value changes, this board adds a trim pot to set the release /decay time for the compression. You could make this an external pot if you wanted.
I’m have been running a workshop at Noisebridge and gave out this board for people to build. I’m putting all of the build information here.
I designed the boards in Eagle PCB and had them manufactured at PCBWay.com. I their service is a a great deal. I’ve used them a lot and they always do great work!
I designed these boards to use board mounted 9mm pots. I like these but I might move back to 16mm since these are easier to source. It’s easier to keep one size in stock. The 9mm pots don’t really save any space either.
Here is a picture of the board on the PCBWay.com Gerber viewer. This is a great tool to examine your designed before you have them manufactured. Use it to check your work before placing an order. You check your silkscreen, and other layers to make sure you’re getting what you want!


Updated Schematic
The schematic is the same as the original by John Hollis with the addition of POT1 (on the right between D3 and D4). This is an optical compressor, the LED VACT_1A, controls the compression. The LED now discharges through POT1. In the original design. The LED goes straight ground through through D3 and D4. This meant the decay of the compression was set by the decay time of the LDR which is dependent on the device. Different LDRs decay at different rates.

| Part Number | Value |
| R1 | 330r (Tayda, Stompboxparts) |
| R2 | 10K (Tayda, Stompboxparts) |
| R3 | 10K (Tayda, Stompboxparts) |
| R4 | 47K (Tayda, Stompboxparts) |
| R5 | 10K (Tayda, Stompboxparts) |
| R6 | 1M (Tayda, Stompboxparts) |
| R7 | 10K (Tayda, Stompboxparts) |
| R8 | 220k (Tayda, Stompboxparts) |
| R10 | 4K7 (Tayda, Stompboxparts) |
| R11 | 1M (Tayda, Stompboxparts) |
| D1 [1] | 1N5817 or 1N4148 or 1N914 (Tayda, Stompboxparts) |
| D2 [1] | 1N5817 or 1N4148 or 1N914 (Tayda, Stompboxparts) |
| D3 [1] | 1N5817 or 1N4148 or 1N914 (Tayda, Stompboxparts) |
| D4 [1] | 1N5817 or 1N4148 or 1N914 (Tayda, Stompboxparts) |
| D5 | LED (Tayda, Stompboxparts, LoveMySwitches) |
| D6 | 1N5817 (Tayda, Stompboxparts) |
| C1 | 220n (Tayda, Stompboxparts) |
| C2 | 100µ (Tayda, Stompboxparts) |
| C3 | 10µ (Tayda, Stompboxparts) |
| C4 [2] | 220µ (Tayda, Stompboxparts) |
| C5 | 10µ (Tayda, Stompboxparts) |
| C6 | 68p (Tayda, Stompboxparts) |
| C7 | 220p (Tayda, Stompboxparts) |
| IC1 [3] | OP2134 or TL072 (Tayda, Stompboxparts) |
| 8 pin DIP Socket | Not required but recommended (Tayda, Stompboxparts) |
| POT1 | 1k TRIM (Tayda, Stompboxparts) |
| SUSTAIN | A100K 9mm (Tayda, Stompboxparts) |
| VOLUME | A100K 9mm (Tayda, Stompboxparts) |
| VACT_1 [4] | VTL5C3 or other LED + LDR (Tayda, Stompboxparts) |
| Enclosure [5] | 1590B (Tayda, StompboxParts, LoveMySwitches) |
- [1] you use just about any small signal diode here. 1N5817 is a schottky diode with a low forward voltage, in theory this should give the compression s faster attack, in practice the difference is so subtle I don’t know anyone that could tell a difference.
- [2] This is larger cap you can use 100µ or 470µ. The trim pot will help make up the difference.
- [3] This circuit will work with any dual op-amp. The OPA2134 is an expensive part (they cost a couple bucks) that has great audio qualities, but just about any dual op-amp will work here.
- [4] This circuit will work with just about any LED/LDR pair. It may sound different since these have different attack and decay characteristics. If you can’t get a VTL5C3 experiment with what you can get. discreet LEDs and LDRs are cheap!
- SmallBearElectronics
- SmallBearElectronics combine this with an LED
- Synthrotek
- Electric Druid
- The cheapest place to get these is AliExpress but shipping is slow!
- [5] I designed this PCB to fit a 1590B enclosure so it will also fit larger enclosures like 125B and 1590BB, you can also put it into anything you like!


Leave a Reply