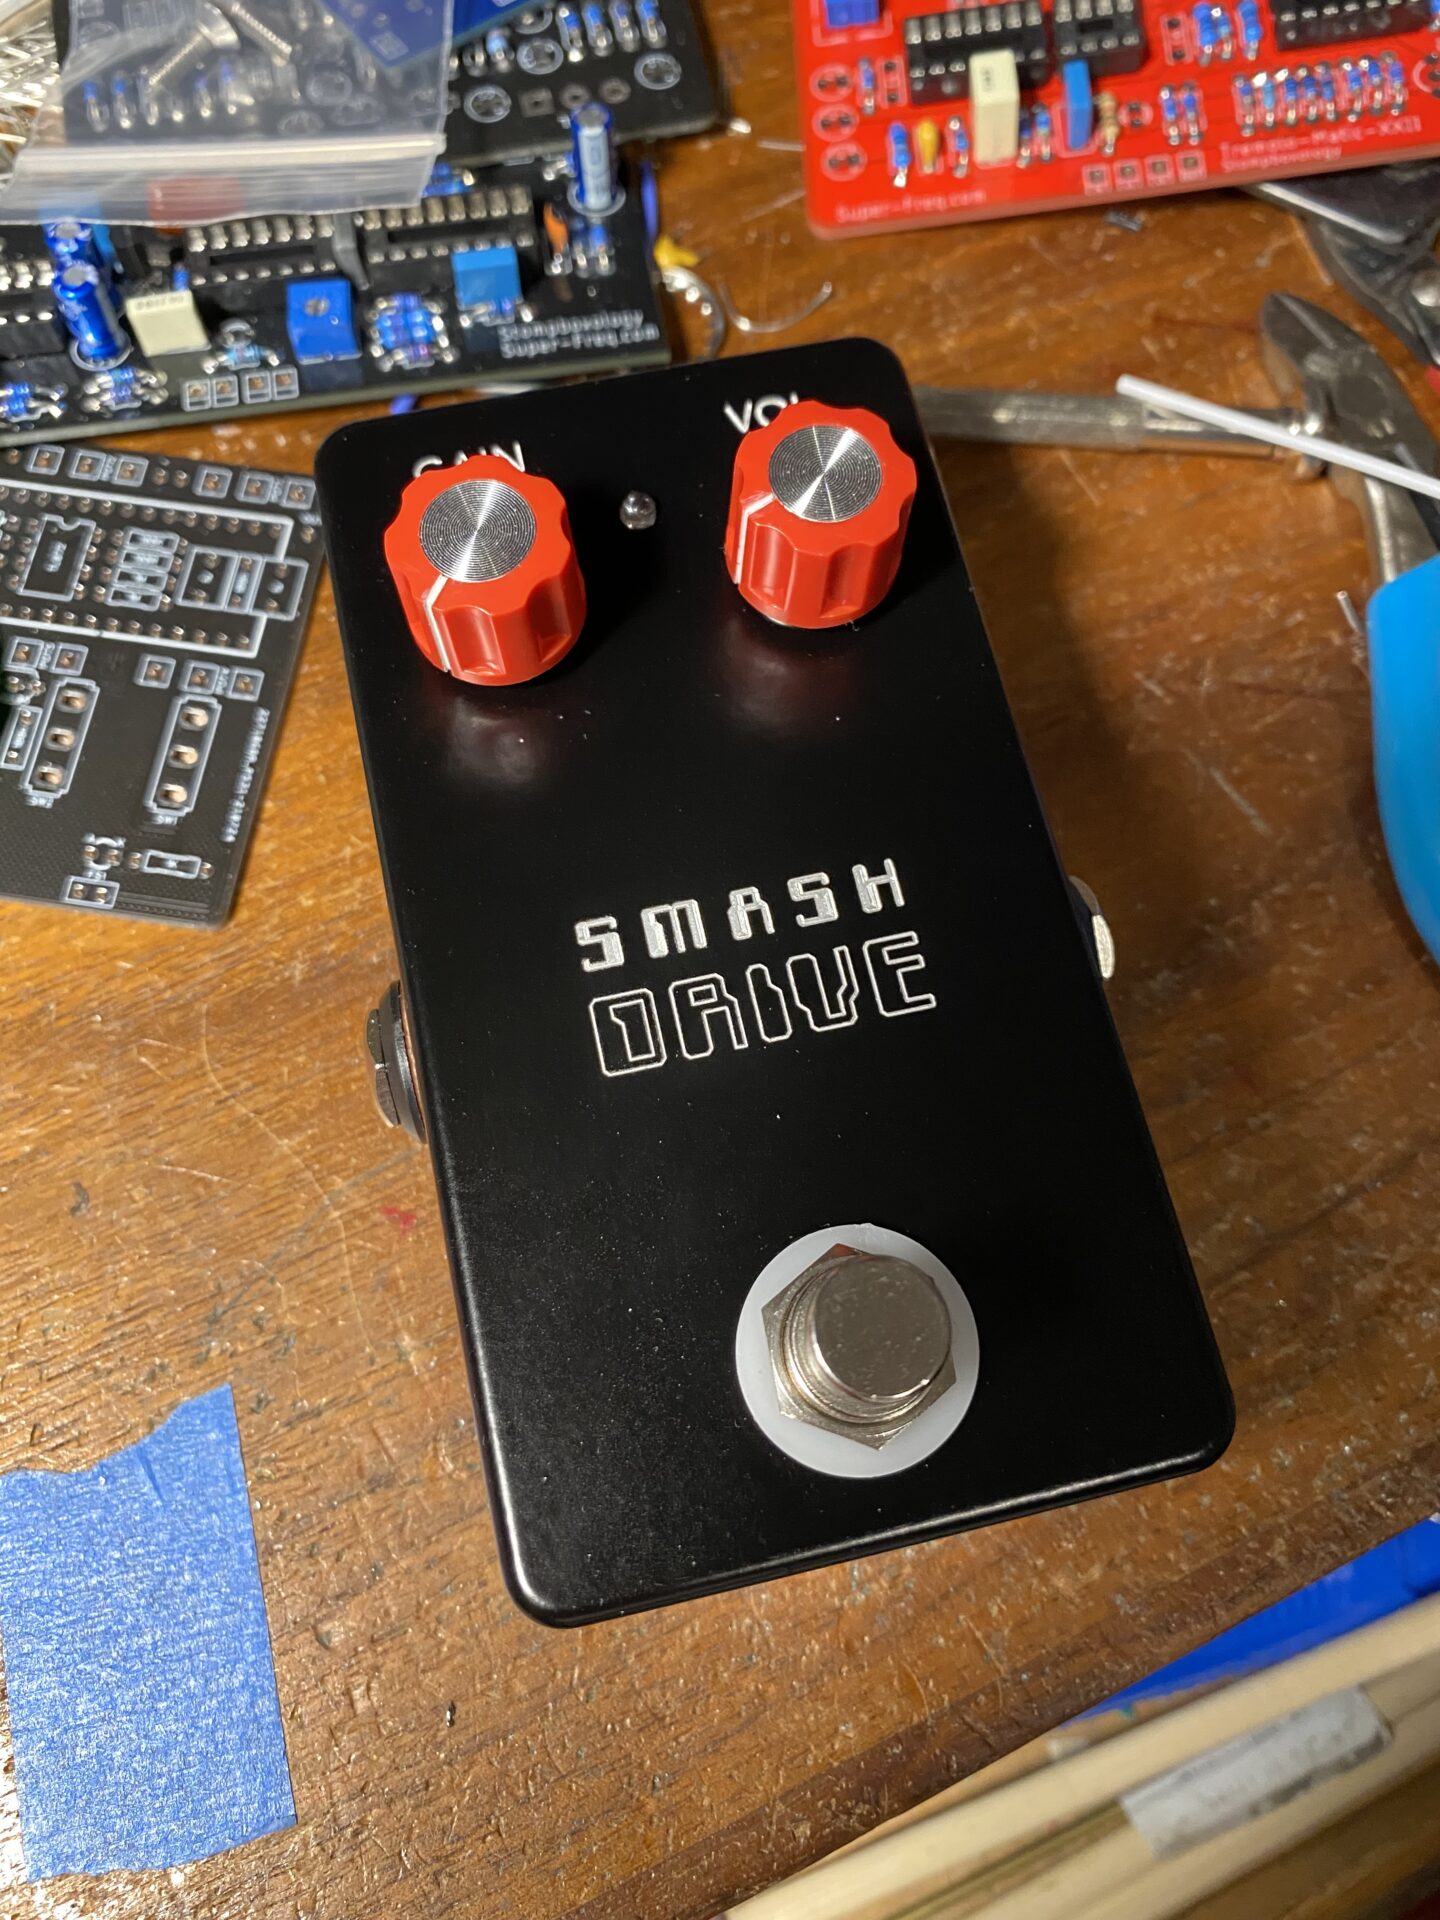
Smash Drive is a DIY classic built around the LM386. This is a great sounding project that is easy to build with just a few easy to find parts.
PCB
Order boards through the PCBWay shared projects page. PCBWay.com provides excellent quality boards at very competitive prices.


Parts List
| Part Number | Value |
| R1 | 1M (Tayda, Stompboxparts) |
| R2 | 470K (Tayda, Stompboxparts) |
| R3 | 1r (Tayda, Stompboxparts) |
| R4 | 22K (Tayda, Stompboxparts) |
| R5 | 100r (Tayda, Stompboxparts) |
| RLED 1 | 1K-10K (Tayda, Stompboxparts) |
| C1 | 100µ (Tayda, Stompboxparts) |
| C2 | 22µ (Tayda, Stompboxparts) |
| C3 | 47µ (Tayda, Stompboxparts) |
| C4 | 47µ (Tayda, Stompboxparts) |
| C5 | 10n (Tayda, Stompboxparts) |
| C6 | 4n7 (Tayda, Stompboxparts) |
| C7 | 100n (Tayda, Stompboxparts) |
| VOLUME | B500K 9mm (Tayda, Stompboxparts) |
| GAIN 2 | B500r 9mm (Tayda, Stompboxparts) |
| IC1 3 | LM386 (Tayda, Stompboxparts) |
| D1 | LED (Tayda, Stompboxparts) |
| Enclosure 4 | 1590B (Tayda, Stompboxparts, LoveMySwitches) |
- [1] Any value from 1 – 10k works here. This is a current limiting resistor for the LED. smaller values make the LED brighter.
- [2] If you can’t find a 500r pot you can use a 1k instead.
- [3] Get a socket for this. Always a good idea in case something goes wrong and you need to replace this.
- [4] This will fit in almost any enclosure, I planned the PCB to fit a 1590B, but you could use anything you have on hand.

I used 9mm pots when I designed the board. After ordering the boards I realized I couldn’t source a 500r pot from Tayda. If you have problems sourcing this value you can use 1K pot and bridge legs 1 and 3 with a 1K resistor. This worked for me. See the images below.

Drill your enclosure
Use this drill guide. Be sure to print the drill guide at 100%.


Wire it up
Follow the wiring guide.


