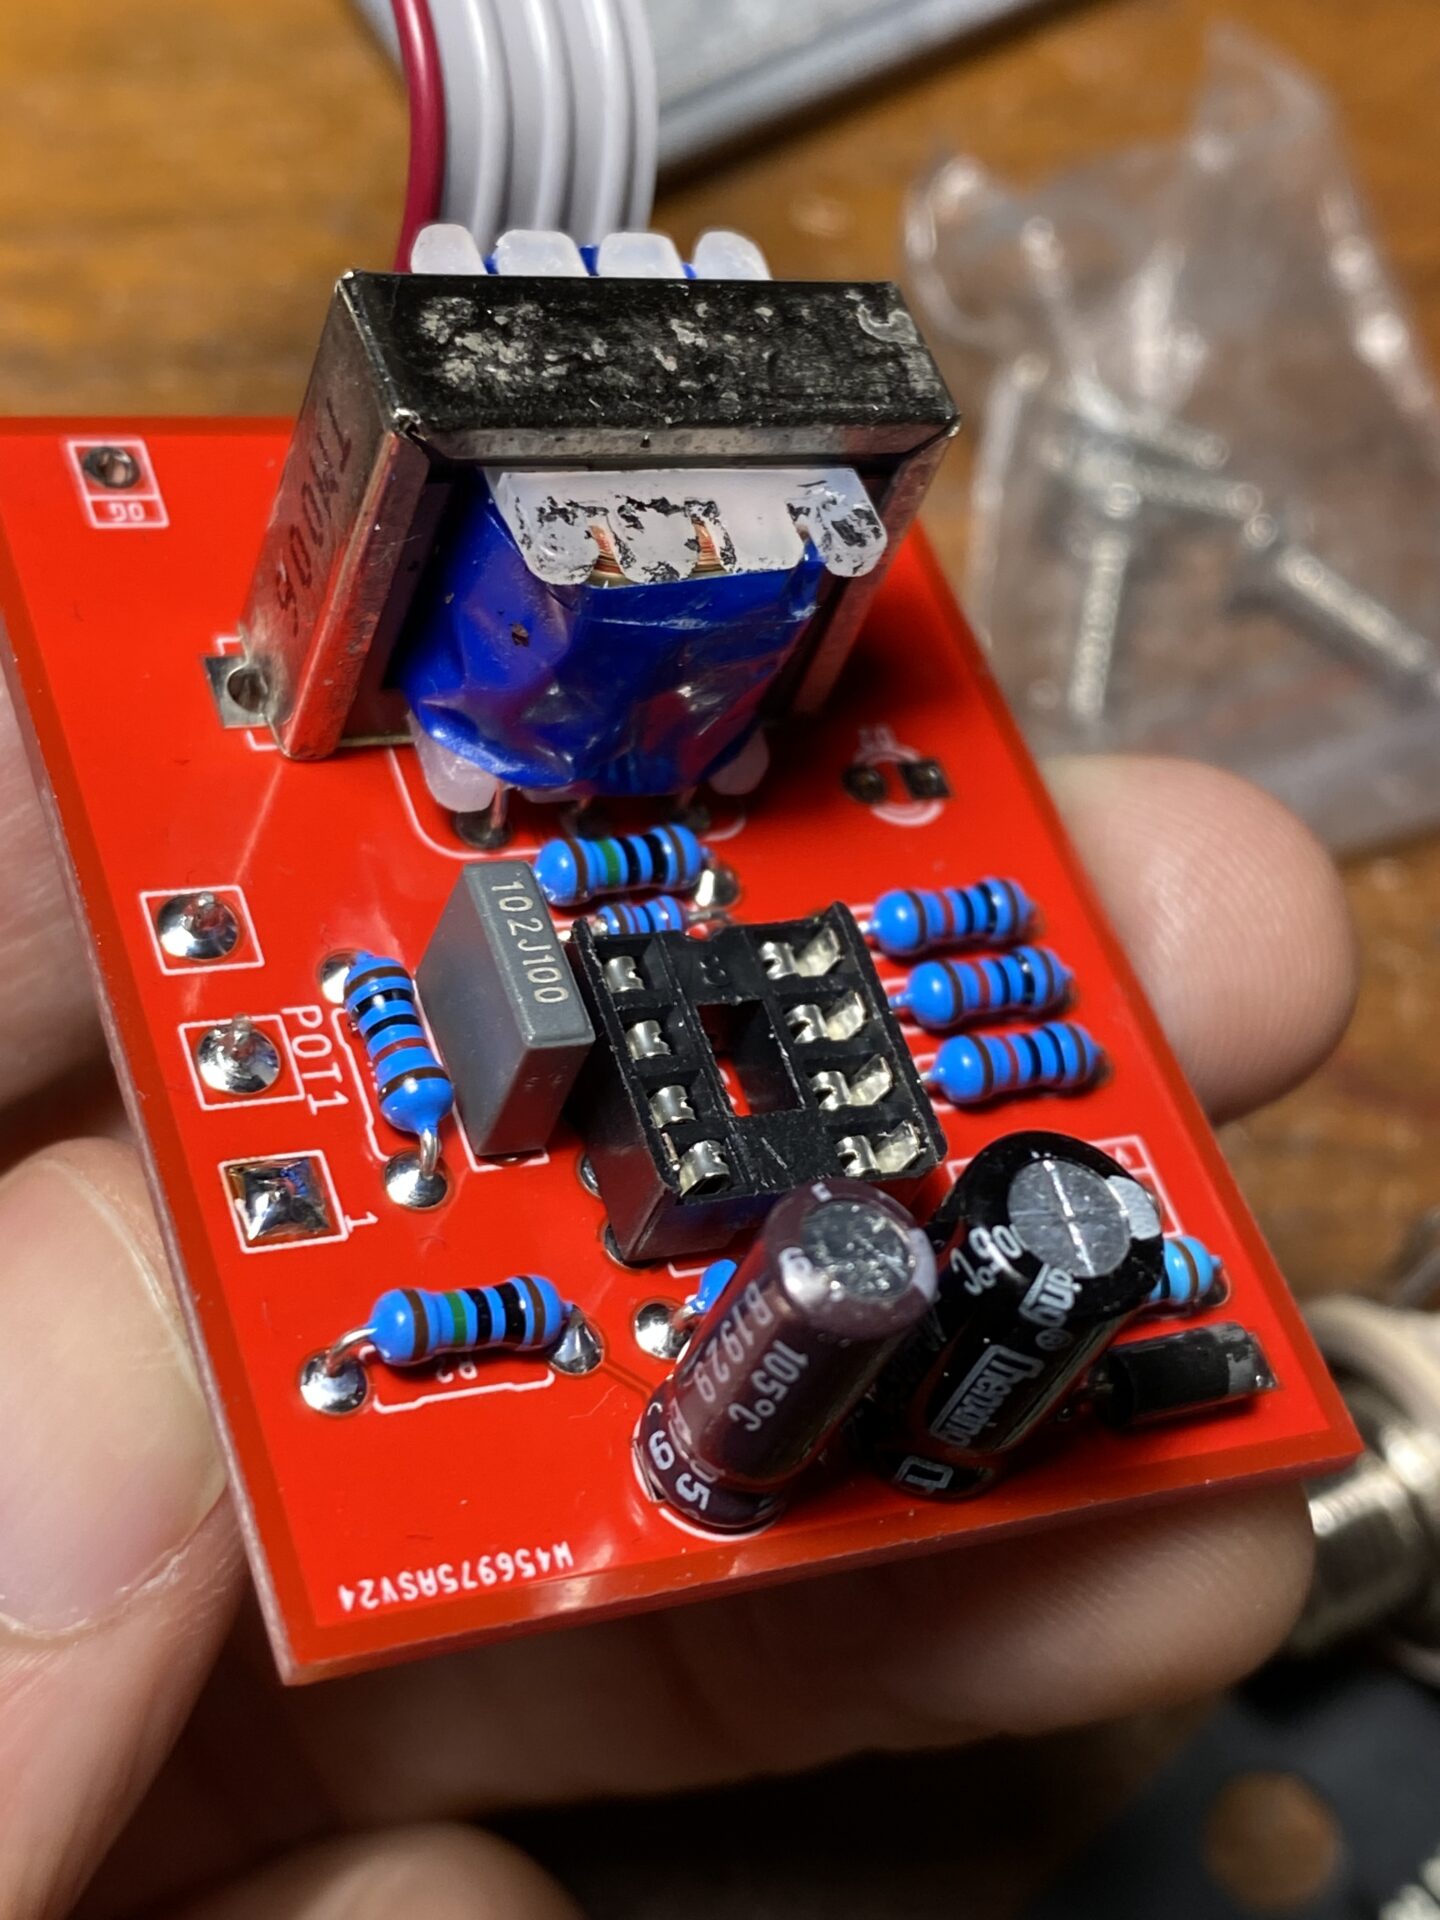
Here is a build of John Hollis’ Titan Boost. I built this a long time ago and liked the sound. There is also a mod to turn it into an octave up.
John Hollis was involved with the early DIYStompbox community. He posted some amazing and original designs on his site. The site seems to have been last edited in 2002.
I built my first Titan Boost, back around 2005, if I recall. I used a 3PDT toggle switch to include the octave section. The octave is strong but, volume drops significantly when the octave is engaged.


The circuit is built on a DIYTemplate PCB I designed and manufactured. I still think this is a good idea. These days I never use batteries, so the design needs some revision to better fit the way I’m currently working.
I etched this box with ferric chloride. I gave up on the process because it can be unpredictable and time-consuming.
What makes Titan Boost interesting?
The circuit is an op-amp boost that drives a 1k:20K transformer. Here’s what John has to say:
A simple boost circuit that gives 30 volts pk/pk output using a 9 volt battery.
John Hollis
Wow, 30 volts peak to peak that’s a lot of boost! What makes this special is that it’s all clean. It doesn’t clip or distort for the full range. That doesn’t mean it won’t overdrive your amp. This thing is so loud I worry it will blow up my amp!
Building the Titan Boost
I recreated the schematic from John’s site in AutoCad Eagle PCB, then designed a board. I exported the files and had boards manufactured at PCBWay.com. The cost was $5 plus shipping for 10 boards, not bad!
I designed the boards so the pot and LED mount to the board with the off board connections at the bottom. This makes for an easy, reliable build. I arranged the four stompswitch connections to be compatible with the these 3PDT Wiring PCBs from LoveMySwitches.com. I set the space between them to make them compatible with these ribbon cables. This setup made for a clean, fast, and easy assembly.


I soldered the ribbon cables between the two boards first outside the box. Then put everything in the box and soldered the 3PDT board to the switch.


Since the main PCB has an LED and resistor and the 3PDT board has an LED and resistor, one of each needs a jumper. I put a jumper where the resistor would go on the smaller circuit board and another jumper where the LED would go on the main PCB. Looking carefully, you should be able to spot these in the pictures.
Last, I connected the jacks to the ground pads and the input and output to the input and output pads on the 3PDT board, and I was done!
A few years ago, I mistakenly ordered 30 of these large knobs. I wasn’t paying attention and typed 30 instead of 3 in a large order; I‘ve been looking for excuses to use them ever since. This gave me an opportunity! Seems fitting the Titan boost has a Titanic knob! Now, I’m down to 25 extra-large knobs.


While it looks like it should fit easily into a 1590B sized box, the transformer is too tall to put the lid on. I thought about tilting the PCB or adding a spacer between the enclosure and the bottom plate. In the end, I used a 125B enclosure, which easily fits everything. Makes sense to put the Titan Boost in a Titanic box. Is that joke getting old yet?


So there it is, I hope you enjoyed the Titan Boost build. Let me know in the comments if you’d like to see this PCB made available? Would you build this? The transformer is not a common part. At the time of writing this post, I was able to find both 42TM006 and LT44 on eBay for about $5 plus shipping.

Leave a Reply